Google Sheets is an online application by Google that lets you create and edit spreadsheets and is part of Google Drive.
You can use our Automatic Importer to add and update contacts from a Google Sheet into your account on a repeat basis.
Prepare your Google Spreadsheet
Before you use the importer to connect your Google sheet to, there are a few things that you will need to keep in mind in order for the import to work.
Column naming and order
The first three columns should be system Email, First name, and Last name. You can name the column headers anything you like, but assumes they exist in that order and position. If your first three columns are not in that order, this will cause the importer to fail.
Custom fields start in column D and can be named anything you like and contain any text values. The system will use the header row to determine the custom field names.
Remove blank rows at the end
To ensure our system calculates the correct row to start on (when the importer runs again), make sure there are no extra blank rows at the end of your spreadsheet. Not removing these rows can also cause the importer to fail.
Here is an example of how your Google Sheet should look:
Note the order of the first three columns (Email address, First name, Last name) and that all blank rows have been removed.
Once your spreadsheet is formatted to the specifications listed above, you are now ready to set up the automatic import.
Setting up the Automatic Import
1. Click on Contacts from the left navigation menu to go to the Contacts Overview page. Click on "Import."
2. Locate Google Spreadsheets from the list of available automatic imports and click on it.
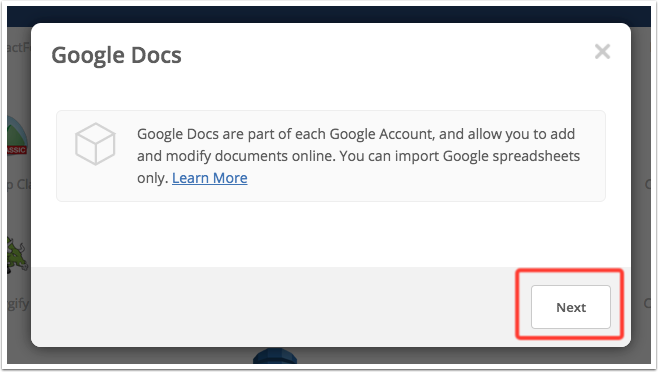
4. You will be asked to log into your Google account if you are not already.
5. On the next screen, click “Allow” to give your account access to your Google Spreadsheets.
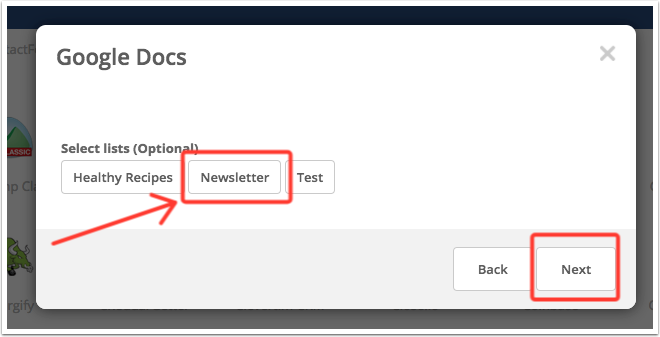
7. On the next screen, choose one of the import options by clicking it. You can choose to either import contacts and auto import new contacts in the future, or, import contacts and do not auto import new contacts in the future.
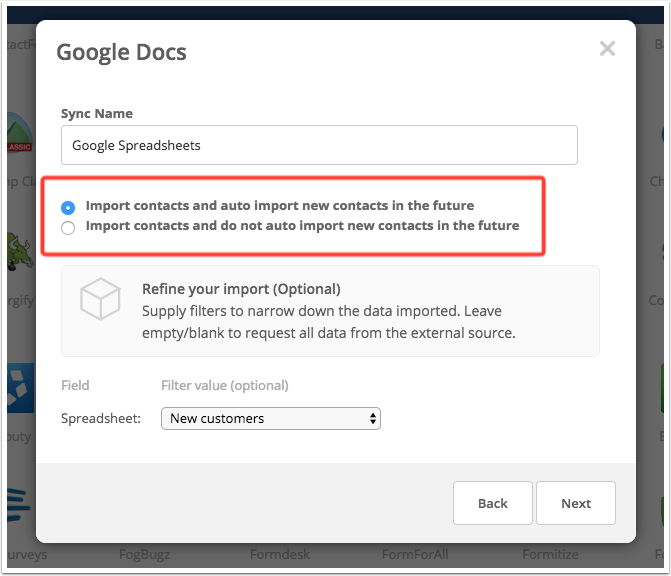
8. Select your spreadsheet from the Spreadsheet dropdown. Then, click “Next.”
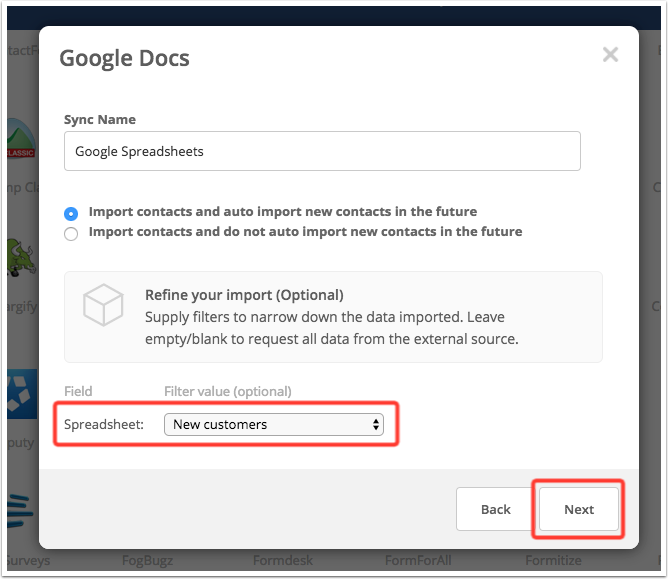
9. On the next screen, select a worksheet and click “Next.”
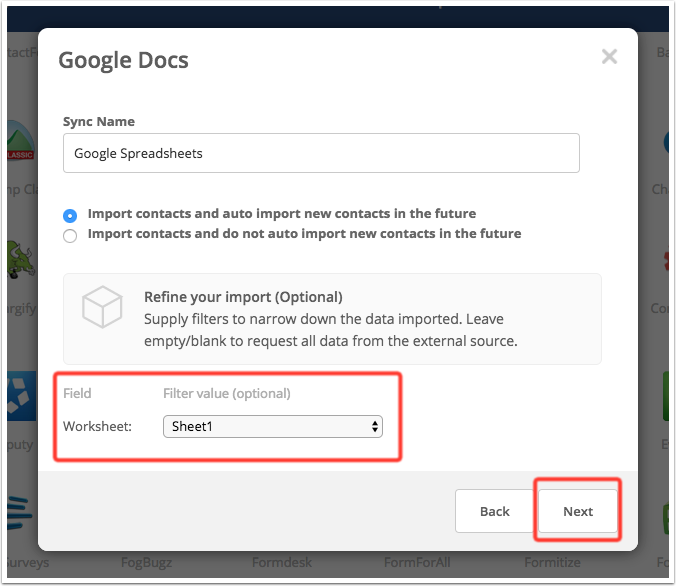
Your Google Spreadsheet is now connected and contacts will be automatically imported into your account.
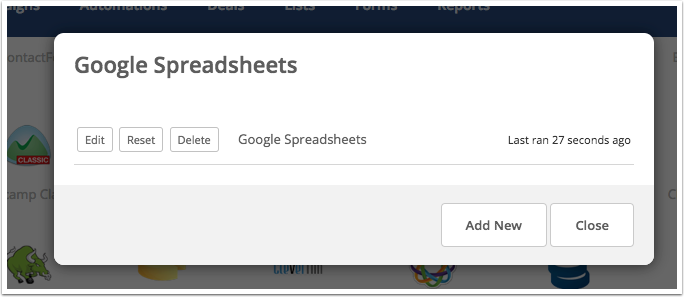
"Reset" the import
You can click the “Reset” button to have the importer start at the very first spreadsheet row the next time it runs. By default we’ll check for new rows at the end of the spreadsheet for seven days, then we’ll start from the beginning again (see the section below for more details). If you need to force the importer to start from the beginning, this is the way to do it.

Import frequency and adding new data
The software will process 1,000 rows at a time, every 30 minutes. If your spreadsheet has more than 1,000 rows, you will not see all of your data in your account right away. When new rows are added to the bottom of the spreadsheet, those will be imported within 30 minutes (once the system reaches that page).
The software only checks for new rows at the end of your spreadsheet. We recommend sorting by “date added” (you could have a column called that, which will become a custom field in your account) inascending order. This way new contacts will always appear at the very bottom of the spreadsheet.
Every seven (7) days the entire spreadsheet will be imported from the beginning; any changes you make to the data that was already imported won’t show up for almost a week.
Any empty custom field cells in your spreadsheet should be denoted with ~|, and those will appear as blank/empty in your account.


Opmerkingen
0 opmerkingen
Artikel is gesloten voor opmerkingen.