The Facebook Custom Audiences integration is available on the following plans:
- Plus
- Professional
With this integration, you can connect multiple Facebook Ads accounts to your ActiveCampaign account. Doing so will allow you to:
- Use automation actions to add or remove contacts to a Facebook Custom Audience(s).
- Use segment conditions to view contacts within ActiveCampaign who were added to or removed from a Facebook Custom Audience using automation actions.
In this article, you'll learn the following:
- Connect your Facebook Ads account to ActiveCampaign
- Manage the Facebook Custom Audiences integration
- Add and remove contacts from Facebook Custom Audiences
- Facebook Custom Audiences conditions in the segment builder
Connect your Facebook Ads account
- In your account, navigate to the Integrations page by clicking "Settings" (gear icon) in the left side bar, then "Integrations."

2. Click the "Add Integration" button.

3. An "Add an integration" modal will appear. Click the Facebook option.
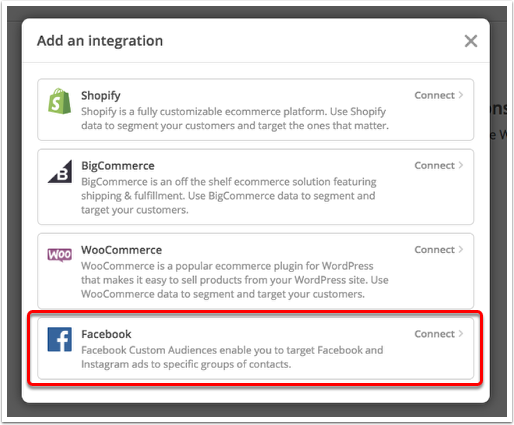
4. If you're not already logged into your Facebook account, you'll be prompted to do so. Enter your login credentials for Facebook and click "OK" for each of the prompts.
5. You will be redirected back to your account to complete the connection. Click the Account dropdown to select which Facebook Ads account you would like to connect to your account then click the "Finish" button.

6. A confirmation window will appear. Here you will have the option to connect another Facebook Ads account or click "Done" to close the window.
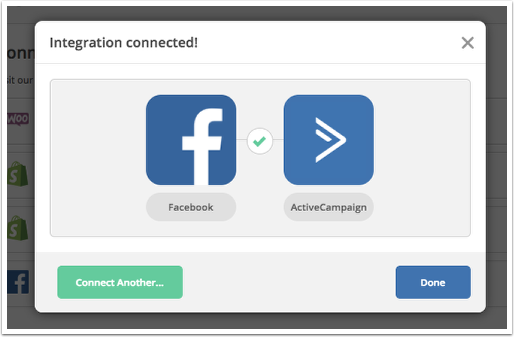
Your integration will be listed on the Connected Integrations page and will automatically be turned On in your account:

All custom audiences of the subtype "Customer List" from the connected Facebook ads account will be synced into your account upon connection.
You will be able to use the "Add to Facebook Custom Audience" and "Remove from Custom Audiences" automation actions right away.
If the integration is ever turned off, then contacts will automatically skip any Facebook Custom Audiences actions they encounter in your automations.
Manage the Facebook Custom Audience integration
Every Facebook ads account you connect to your account will have a “Manage Facebook” modal:
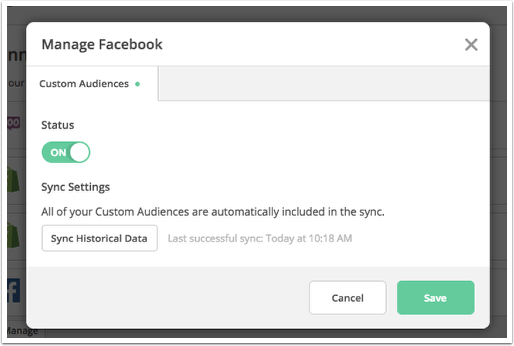
Here, you will be able to:
- Turn the integration Off or On
Clicking the status toggle will turn off or on the connected Facebook Ads account. If the status is set to "Off" then contacts will skip any Facebook Custom Audience action they encounter in your automations that refer to this Facebook Ads account. This can be turned back on at any time. - Sync Custom Audiences
This will sync all Facebook Custom Audiences from the Connected Facebook Ads account into your account. You may want to click this if you added a new custom audience in Facebook, and wanted it to sync into right away.
To access the Manage Facebook Settings modal:
1. From the Integrations page in your account, click the connected Facebook Ads account.
2. Click the "Manage" button that appears.
Add and remove contacts from Facebook Custom Audiences
Now that you’ve set up the Facebook Custom Audiences integration, you are all set to use the “Add to Facebook Custom Audience” and “Remove from Facebook Custom Audience” automation actions.
These two actions are located under the “Contacts” section of automation actions:

Only contacts who reach either step in your automation will either be added to or removed from the Facebook Custom Audience you specify.
“Add to Facebook Custom Audience” Automation Action
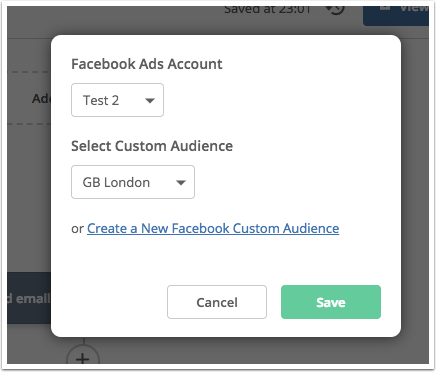
With this automation action, you can select which Facebook Ads account and Custom Audience to add contacts to when they encounter this action in your automation.
Clicking the "Create a New Facebook Custom Audience" link will allow you to create a new custom audience right from your account:
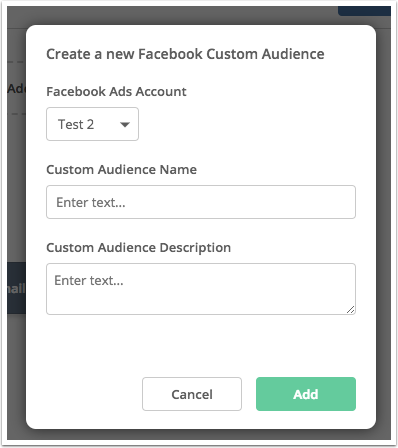
There are several types of custom audiences that Facebook offers.
The newly created audience will be of the "Customer List" subtype, which is the most common type of custom audience that Facebook offers.
When a contact is added to a Facebook Custom Audience by this action, an activity stream item will appear on their contact profile page:

This activity stream item will show which audience they were added to, and the automation containing that action.
“Remove from Facebook Custom Audience” Automation Action

With this automation action, you can select which Facebook Ads account and Custom Audience to remove contacts from when they encounter this action in your automation.
When a contact is removed from a Facebook Custom Audience by this action, an activity stream item will appear on their contact profile page:
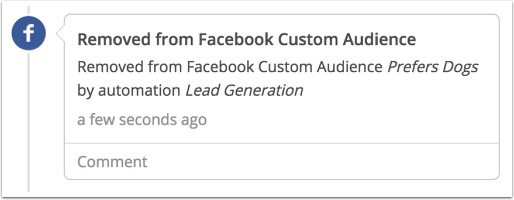
This activity stream item will show which audience they were removed from, and the automation containing that action.
To use either of these conditions in your automation:
1. From your automation workflow builder, locate where you would like to use either action.
2. Click the node (+).
3. An "Add New Action" modal will appear. Click Contacts.
4. Click the Facebook Custom Audience automation action that you would like to use.
5. Select the Facebook Ads account and Custom Audience that you would like to add contacts to or remove contacts from.
6. Click the "Save" button.
Facebook Custom Audiences conditions in the segment builder
Two segment conditions are available with this integration:
- Is in Facebook audience
Will display all contacts who were added to the Facebook custom audience you specify. - Is not in Facebook audience
Will display all contacts that were removed from the Facebook custom audience you specify.
These two segment conditions are located under the “Actions” category:

Only contacts that were added to or removed from your Facebook Custom Audiences through automation actions will appear in the results.
Contacts that were added to or removed from your Facebook Custom Audiences outside of these two automation actions will not appear in these results.
Opmerkingen
0 opmerkingen
U moet u aanmelden om een opmerking te plaatsen.